

Quick Solutions for Repairing Ceiling Water Damage
A water-damaged ceiling can often be fixed quickly once you know where the water came from and how far it soaked in. Stephan Sannikov, owner of SS Water Restoration in Plano, wrote this guide for homeowners in Collin and Denton counties: how to read the stain, what to repair yourself, and when trapped moisture calls for mold remediation.
Key Takeaways
- Look above the stain, not only at it: the leak behind it may sit some distance away along a joist or pipe.
- Hand the job to a restoration crew when the water was dirty or the sag runs across the room; a small patch fixes neither.
- Match your fix to how far water got: sealer and paint cover a stain on firm board, but soft or sagging board comes out.
What Is Causing the Water Damage on Your Ceiling?
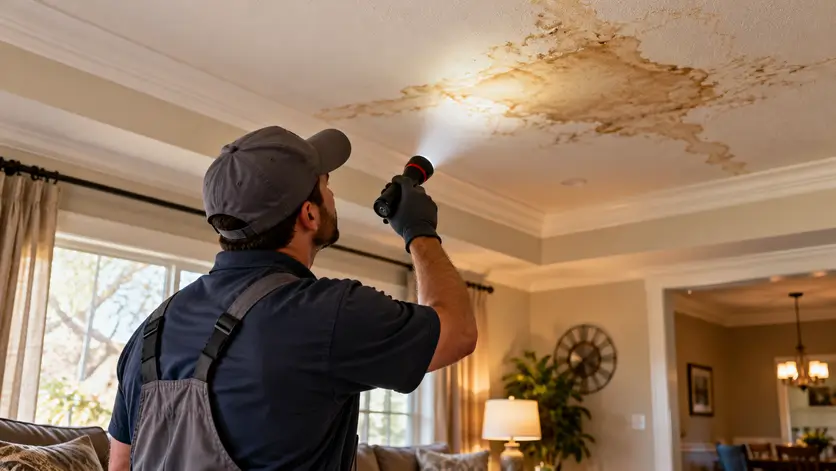
The stain on your ceiling is rarely right under the leak. Water travels along framing and pipes before it soaks through drywall, so the cause usually shows up when you match where the stain sits to what is above it. Our page on what causes ceiling water stains goes further if you are still narrowing it down.
Roof Leaks
A stain on a top-floor ceiling that appears or darkens after rain points to the roof. Water can enter at a damaged shingle or flashing well away from where it shows, then run down the roof deck before it drops onto the ceiling. A ring that shows up after one storm and spreads after the next is a strong clue.
Plumbing Leaks
Stains below a bathroom, kitchen or laundry room, or ones that appear in dry weather, usually trace to a supply line, drain or toilet seal above. A burst line inside the ceiling causes serious water damage fast and announces itself with active dripping. A slow leak is quieter: bulging drywall, or a stain that keeps creeping outward. Damp spots or warped flooring in the room above help confirm it.
Condensation Issues
Bathrooms and kitchens can stain with no leak at all. Warm, moist air from showers and cooking meets the cooler ceiling, condenses and soaks into the paint. Expect discoloration spread across the ceiling, peeling paint or mildew spots rather than one ring with a defined edge.
HVAC System Leaks
Cold ducts without insulation can also sweat. Look for staining around supply vents or damp insulation along the duct runs. These leaks tend to appear while the air conditioning runs.
What a water stain or sagging ceiling is telling you
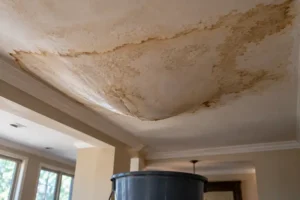
A dry ring with a hard edge often marks an old leak that has stopped. A soft, damp or growing stain means water is still arriving. Sagging is the serious signal: drywall that bows or feels spongy is holding water, has lost strength and can come down.
Steps to Repair Minor Ceiling Water Damage Yourself
Minor ceiling damage from clean water is a drywall repair you can do yourself, once the leak is stopped and the board is dry.
Step 1: Dry the Affected Area
Dry the ceiling before you repair it. OSHA’s mold page says mold can begin on water-damaged materials within 24 to 48 hours if they are not properly dried. Aim fans and a dehumidifier at the stain. Board that still feels cool is holding water.
Step 2: Remove Damaged Materials
Once dry, press the stain. Board that sags or crumbles has lost its strength: cut it back to firm drywall with a utility knife or keyhole saw, then scrape off bubbled paint. Firm board gets cleaned instead; NDSU Extension’s repair guide suggests a mildew cleaner from a paint store, or household detergent followed by one-quarter cup of bleach to 1 quart of water.
Step 3: Apply a Stain-Blocking Primer
Stained but sound drywall needs a stain-blocking primer, or the ring bleeds through ordinary paint. The EPA’s guide to mold and moisture says not to paint over moldy surfaces, since that paint is likely to peel.
Step 4: Patch and Sand the Area
Fill small cracks with joint compound. For a cut-out hole, screw in a drywall piece, tape the seams and apply thin coats of compound, sanding each flush once dry. A sprayed texture needs its own method, covered in our guide to repairing popcorn ceiling water damage.
Step 5: Paint and Seal
Prime the patch, then roll the whole ceiling wall to wall so no square of new paint shows. A second coat evens the sheen. Moisture-resistant paint holds up better over a shower.
First steps: stop the leak, protect the room and dry the area
Stop the water at its source: close the shutoff valve for the fixture above, or the main. Switch off the breaker for any light in the wet ceiling, then move furniture out and lay plastic down. If the drywall bulges, pierce the low point over a bucket so it drains instead of collapsing. When the drip comes from the air handler, our guide to AC leak water damage in DFW homes covers clearing that drain line. Then dry the area as Step 1 describes.
How to fix a water-damaged ceiling, step by step
Run Steps 1 to 5 in that order; each one assumes the last is finished. To hire out the patch instead, homewyse’s ceiling repair cost calculator puts the national average starting at $317 to $481 per patch.
When a DIY Fix Is Enough and When to Call a Restoration Company
A DIY fix is enough when the leak is stopped, the water was clean and the damaged patch is small enough to cut out and replace. Bring in a restoration company when any of these apply:
- The ceiling bows across the room or cracks along its length. Drywall holding that much water can fall, and the framing above it needs drying too.
- The water came from a toilet or drain line. That is sewage cleanup and decontamination, which SS Water Restoration handles, not a patch job.
- Mold returns after cleaning, or the room smells musty. Growth may sit above the board.
- You cannot find the source. A patch would only hide it.
Trouble often shows elsewhere first; these early signs of water damage tell you where to look.
Keeping the Next Leak From Reaching Your Ceiling
The surest protection is catching water above the ceiling before the drywall soaks it up. That means checking the spaces you rarely see and giving moisture a way out. The EPA’s guide to mold and moisture lists roof materials above ceiling tiles, wet from roof leaks or insufficient insulation, among the places mold grows out of sight, along with wall cavities around leaking or condensing pipes.
Regular Roof Maintenance
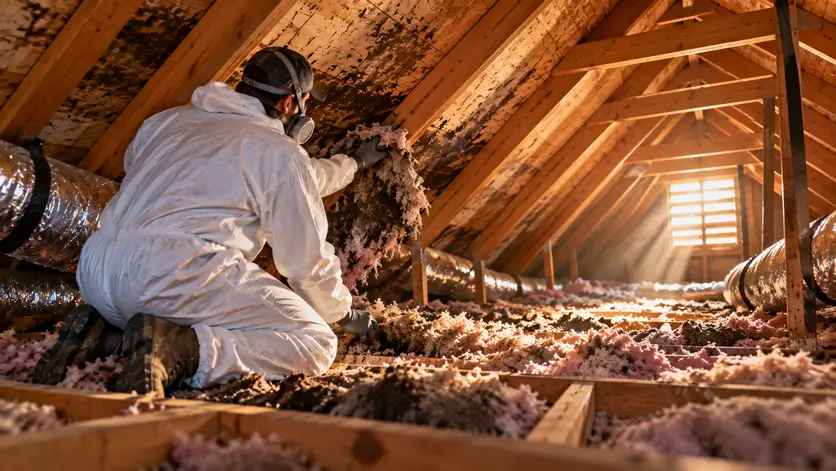
After a hard storm, look from the yard for lifted or missing shingles and for gaps in the flashing around vents and chimneys. Keep gutters and downspouts clear so rain drains away instead of backing up under the shingles. Climb into the attic with a flashlight. Dark streaks on the roof deck or damp, matted insulation show a leak long before a stain appears below.
Check Plumbing Systems
Look at the supply lines feeding toilets and the washer above a finished ceiling. Green crust at a fitting or a bulging hose is a leak getting started. Find your main shutoff valve and turn it occasionally so it does not seize.
Improve Ventilation
Bathroom and laundry exhaust fans should vent outdoors, never into the attic, where that damp air condenses under the roof. Run the fan through each shower and for a while after. If an air handler sits above a ceiling, keep its condensate drain line flowing and check its pan.
Install a Leak Detection System
Battery sensors set beside a water heater, under a washer or in the air handler’s drain pan send an alert to your phone when they get wet. Some systems close the main valve on their own, which matters while you are away.
Use Mold-Resistant Paints and Materials
When a damaged section is cut out of a bathroom or laundry ceiling, replace it with mold-resistant drywall and seal it with a mold-resistant primer. Both slow growth on the surface. Neither can outlast a leak that keeps running, so they help only alongside the checks above.
Patch, Repair or Replace: Deciding What Your Ceiling Needs
The right fix depends on how far the water got past the paint.
| Option | Fits when | Work involved |
|---|---|---|
| Patch | Board stays firm; only the paint is stained | Seal the stain, then repaint |
| Repair | One section sags or crumbles | Cut that section out and fit new drywall |
| Replace | Sagging spreads across the room, or the framing got wet | Tear out the ceiling and dry the framing before new board goes up |
What Drives the Cost of Repairing a Water-damaged Ceiling
The homewyse cost calculator for ceiling water damage sets its basic minimum labor line at $317-481 for favorable site conditions. Your actual price is built from what your ceiling needs. These conditions move it:
- How much board comes out. Sealing a stain on firm drywall is less work than cutting out a section and hanging new board.
- Whether the framing got wet. Wet joists need drying time before any new board goes up.
- Texture and paint. A sprayed or knockdown texture takes extra labor to match. Repainting covers the whole ceiling, not just the patch.
- The water itself. Mold or sewage means cleanup before the repair can start.
- Costs for local material / equipment delivery to and service provider transportation to and from the job site.
What to Check Before You Start Patching Your Ceiling
Before you reach for joint compound, check two things: the leak above has been found and stopped, and the drywall is dry and firm when you press it. When both hold, the repair is yours to do. When either fails, a patch only hides water still sitting in the board or the framing above it. That calls for professional water damage restoration, where the structure is dried out before anything is rebuilt. SS Water Restoration is a licensed contractor (#RCO1659) based in Plano and serving North Texas. To have us look at your ceiling, get in touch with us or call 469-737-0296.
Ceiling Water Damage FAQs
How do I know if my ceiling water damage is serious?
It is serious once water has soaked past the paint into the structure. NDSU Extension’s guide on water-damaged ceilings warns that trapped moisture can cause structural damage, along with discomfort or illness for family members with allergies.
How can I prevent future ceiling water damage?
Prevention also comes down to what you rebuild with after a repair. Over a shower or laundry room, hang moisture-resistant drywall rather than standard board, so the next leak or round of condensation does less harm.
What does water extraction involve?
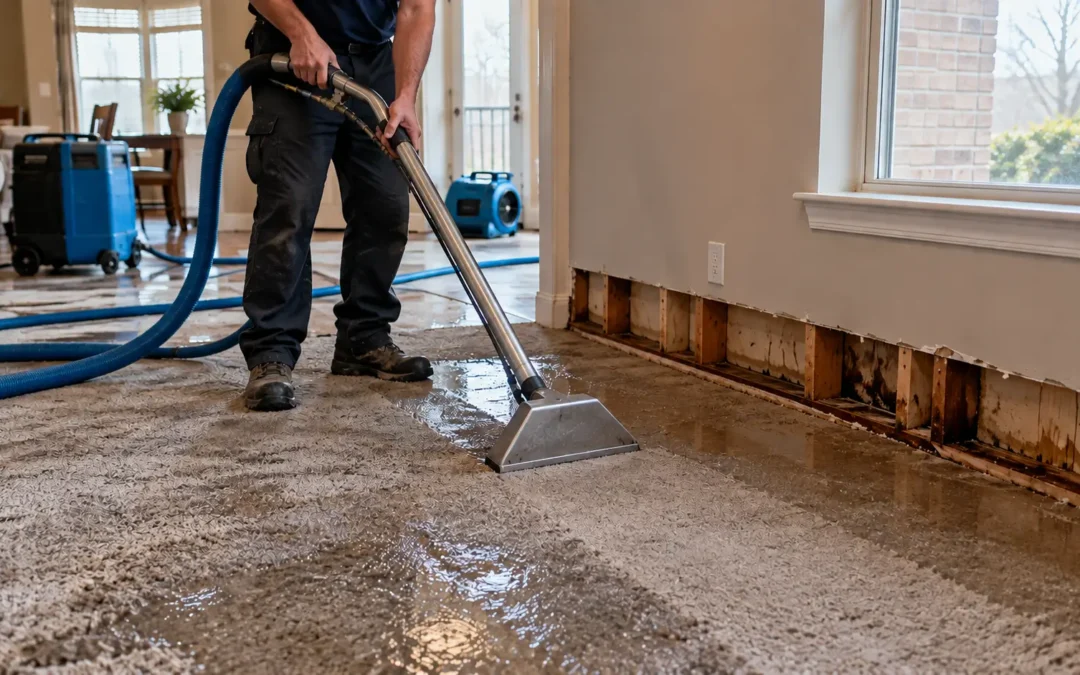
Water extraction is the removal of standing water with pumps and wet vacuums, done before any drying starts. Pulling the bulk water out first lets drying equipment work on the moisture soaked into drywall, framing and flooring.
Will homeowners insurance cover water damage to my ceiling?
Your own policy decides that, so read its water damage terms before any repairs start. Photograph the stain and the leak’s source before you cut anything out, since the damaged board shows what happened.
Sources
- A Brief Guide to Mold, Moisture and Your Home | US EPA, U.S. Environmental Protection Agency, retrieved 2026-10-05.
- Mold – Overview, Occupational Safety and Health Administration, retrieved 2026-10-05.
- Cleaning and Repairing Flood-Damaged Walls, Ceilings and Floors | NDSU Agriculture, ndsu.edu, retrieved 2026-10-05.
- Cost to Repair Ceiling Water Damage – 2026 Cost Calculator (Customizable), homewyse.com, retrieved 2026-10-05.