Water-damaged hardwood floors can be stressful for any homeowner, but quick action and the right approach can make a big difference. The process often involves assessing the damage, removing moisture, and restoring the wood’s appearance and strength. Understanding the general steps helps ensure that your floors regain both their beauty and durability after exposure to water.
Fixing water damage in hardwood floors requires skill and care. Professional services focus on repairing water damage quickly, preventing mold, and ensuring thorough water damage clean up to restore beauty. Let’s take a closer look at the process now!
Understanding Water Damage in Hardwood Floors
Water damage in hardwood floors can stem from various sources, like leaks, spills, or high humidity. You need to recognize the signs of damage early, as they can range from minor discoloration to more severe warping. Understanding the short-term and long-term effects will help you take the proper steps to protect your floors.
Common Causes of Water Damage
Hardwood floors are prized for their durability and aesthetic appeal, but they’re also vulnerable to moisture. Understanding the most common sources of water damage can help homeowners take preventive action and avoid costly repairs or full replacements.
- Leaky Pipes: Hidden plumbing leaks under or near the flooring can cause gradual saturation.
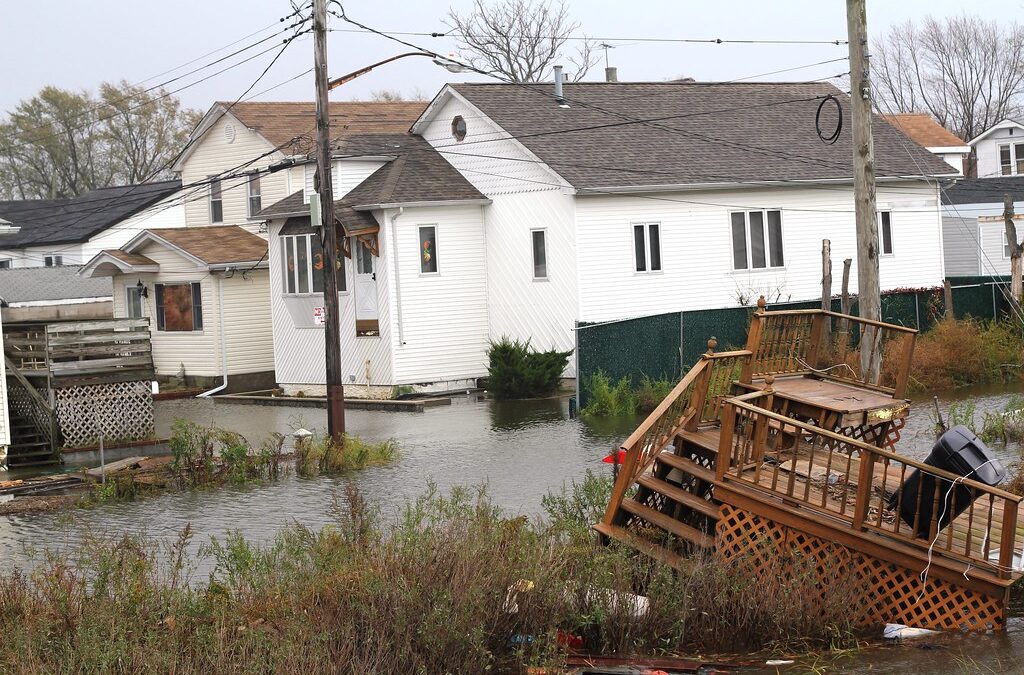
- Flooding: Storms, appliance failures, or burst pipes may flood entire rooms.
- Spills: Frequent spills left unattended can seep into the wood grain.
- Poor Sealing: Inadequate finish or sealant allows moisture to penetrate.
- High Humidity: Persistent humidity swells wood and weakens its structure.
- Improper Mopping: Excess water during cleaning can soak into the boards.
- Roof Leaks: Water from above may travel down walls to floors.
- Condensation: HVAC systems or windows may drip onto the flooring.
- Pet Accidents: Urine or water bowls can cause staining and warping.
- Delayed Repairs: Ignoring minor issues allows damage to worsen.
Signs Your Hardwood Floors Are Water Damaged
Early detection of water damage is key to preserving hardwood floors. By recognizing subtle and overt warning signs, homeowners can intervene before the damage becomes irreversible—saving time, money, and the integrity of their flooring investment.
- Discoloration: Dark spots, stains, or fading may indicate exposure to moisture.
- Warped Boards: Curved or uneven planks indicate swelling due to water.
- Buckling: Boards that lift or separate from the subfloor indicate severe damage.
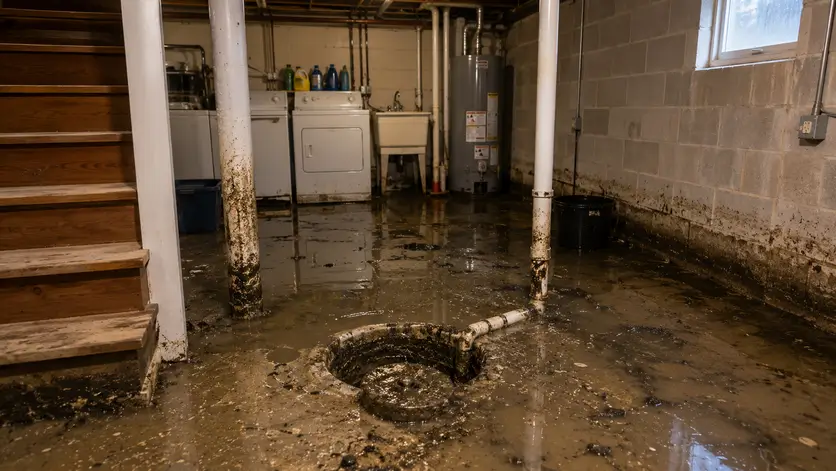
- Musty Odor: A damp, moldy smell often accompanies hidden moisture.
- Creaking Sounds: Increased noise when walking may reflect structural changes.
- Soft Spots: Areas that feel spongy or unstable underfoot.
- Mold Growth: Visible mold between boards or along edges.
- Gaps or Crowding: Expansion or contraction causes spacing issues.
- Peeling Finish: Water can break down protective coatings.
- Lingering Dampness: The floor remains cool or moist despite ongoing drying efforts.
Short-term vs Long-term Effects
Understanding the effects of water damage on hardwood floors is essential for homeowners. In the short term, you might notice warping, buckling, or discoloration. If left untreated, these issues can lead to long-term damage, such as mold growth or structural weakening. Addressing water damage promptly can help prevent these severe consequences, ensuring your hardwood floors remain beautiful and functional for years to come.
Initial Steps to Take When You Discover Water Damage
Repairing water damage takes expertise. From fixing water damage in hardwood floors to complete water damage clean up, professionals restore safety, durability, and appearance while preventing further costly issues. When you notice water damage on your hardwood floors, your first step is to stop the water source immediately.
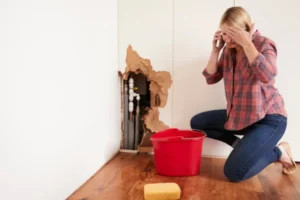
Stop the Water Source Immediately
Turn off the water supply quickly to prevent further damage. Use towels to contain leaks and assess the situation. Fast action minimizes moisture exposure and protects your hardwood floors.
Remove Furniture and Personal Items
Clear the affected area by carefully lifting furniture and belongings. Relocate items to a dry space to prevent staining or warping. This step prepares the floor for safe restoration.
Dry the Area Safely
Shut off the electricity, then use fans and dehumidifiers to dry the space. Open windows for ventilation and check under baseboards for hidden moisture to avoid mold and structural issues.
Step-by-Step Guide to Restoring Water-Damaged Hardwood Floors
Water damage doesn’t have to mean the end of your hardwood floors. With the right approach, you can salvage their beauty and function. This guide outlines essential steps for effective hardwood floor restoration—from assessment to replacement.
Assess the Extent of the Damage
Inspect for warping, buckling, or discoloration. Tap boards to detect hollow sounds, which may signal trapped moisture. Document all findings to determine whether repairs are feasible or if complete board replacement is necessary.
Drying and Dehumidifying the Floors
Use fans and dehumidifiers to remove moisture and prevent mold. Position the airflow across the surface and monitor humidity levels, aiming for a level below 50%. Continuous drying is key to stabilizing the wood before repairs.
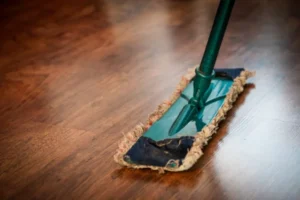
Cleaning and Sanitizing Affected Areas
Wipe surfaces with mild detergent and warm water, avoiding excess moisture. Disinfect using a vinegar-water mix to eliminate mold or mildew. This step ensures a clean, safe foundation for further restoration work.
Repairing Minor Damage: Sanding and Refinishing
Sand damaged areas with fine-grit paper, blending edges smoothly. Vacuum thoroughly, then apply a matching wood finish. Allow it to dry completely and then buff for a polished, uniform appearance across the repaired sections.
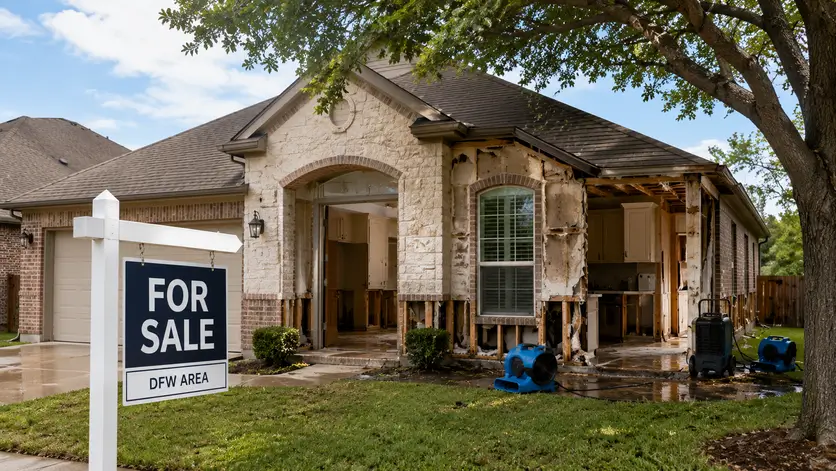
When to Replace Boards Completely
Replace boards showing severe warping, cracks, or mold. If subfloor damage is present, complete replacement is necessary. This ensures long-term durability and prevents recurring issues after restoration is complete.
Prevention Tips to Avoid Future Water Damage
To prevent getting water-damaged hardwood floors, you need to stay proactive. Regular maintenance and inspections can help catch issues early, while installing proper moisture barriers offers essential protection.
Regular Maintenance and Inspections
Regular maintenance and inspections can save you from costly water damage in your hardwood floors. Check for leaks around appliances and plumbing regularly. Maintain stable humidity levels and address spills promptly. Inspect your floors for signs of warping or discoloration. By staying proactive, you’ll catch potential issues early, ensuring your hardwood floors remain beautiful and protected for years to come.
Installing Proper Moisture Barriers
How can you effectively protect your hardwood floors from water damage? Start by installing proper moisture barriers in areas prone to humidity, like basements and kitchens. Use high-quality vapor barriers beneath your flooring to prevent moisture from seeping through. Ensure that any subflooring is also treated to resist moisture. This proactive approach greatly reduces the risk of future water damage and keeps your hardwood floors safe.
Quick Response to Spills and Leaks
Even with proper moisture barriers in place, a quick response to spills and leaks can make all the difference in protecting your hardwood floors. As soon as you notice a spill, grab absorbent towels to blot up the liquid immediately. Avoid rubbing, as it can spread the moisture. Regularly check for leaks around appliances and fix them promptly to prevent future damage.
When to Call a Professional Hardwood Floor Restoration Service

If you notice signs of severe damage, such as buckling or extensive warping, it’s time to consider calling a professional. Knowing when to seek expert help can save you from more costly repairs down the line and offer other benefits.
Indicators the Damage Is Too Severe for DIY
Recognizing the signs of severe water damage is crucial in determining whether to tackle the restoration yourself or hire a professional. If you notice extensive warping, mold growth, or a persistent musty smell, it’s time to seek help. Additionally, if the damage affects the subfloor or if the wood feels spongy, don’t hesitate to contact an expert for proper restoration.
Choosing the Right Restoration Expert
When faced with significant water damage to your hardwood floors, knowing when to call a professional restoration service can save you time and money. Look for experts with experience in water damage restoration and positive reviews. Verify they’re licensed and insured, and ask about their process and timeline. A qualified professional can assess the damage and provide effective hardwood floor restoration solutions for your floors.
Final Thoughts on Water-Damaged Hardwood Floor Repair
Dealing with water-damaged hardwood floors requires quick action to prevent lasting harm. Proper hardwood floor water damage repair typically involves drying, repairing, and protecting the surface to restore its strength and beauty, while also reducing the risk of future damage.
Water damage clean up involves more than drying surfaces. Experts specialize in repairing water damage and restoring hardwood floors, preserving both structural integrity and home value. Need Help Restoring Your Hardwood Floors? Contact Our Experts Today!