Water damage to your ceiling can be a major concern, leading to structural issues, mold growth, and even health hazards. Whether caused by leaks, condensation, or plumbing failures, identifying and addressing the damage quickly is essential to prevent further deterioration. If you notice water stains, sagging, or peeling paint, taking immediate action can save you from costly repairs and potential safety risks.
Fortunately, there are effective ways to repair ceiling water damage based on the severity of the issue and the type of ceiling material. Understanding whether your ceiling needs a simple patch or a complete replacement will help you decide whether to attempt a DIY repair or seek professional assistance.
Identifying the Source of Ceiling Water Damage
Before repairing your ceiling, it is crucial to identify the source of the water damage. Water can travel along beams and pipes, making it challenging to pinpoint where the issue originates. Some common causes of ceiling water damage include:
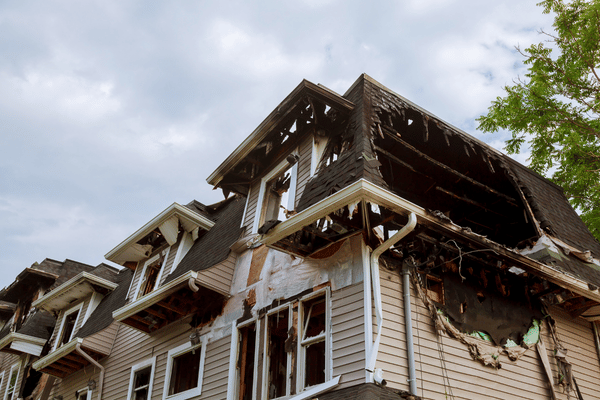
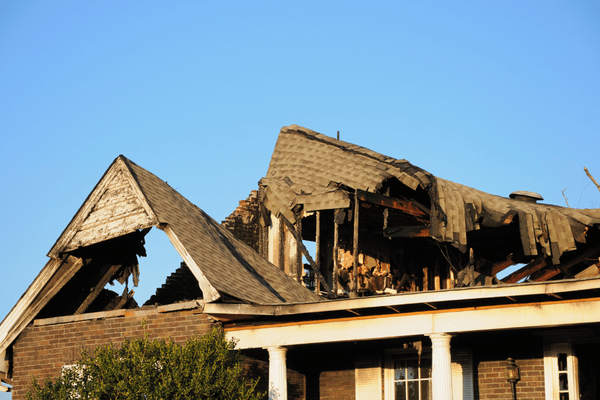
1. Roof Leaks
Heavy rain, damaged shingles, or clogged gutters can allow water to seep through the roof and into the ceiling. Roof leaks often start as small drips that go unnoticed, but over time, they can lead to widespread staining, peeling paint, and even structural weakening. Pay close attention to water stains forming after storms, indicating a leak that needs immediate attention. Regular roof inspections and timely repairs can prevent long-term ceiling damage caused by roof leaks.
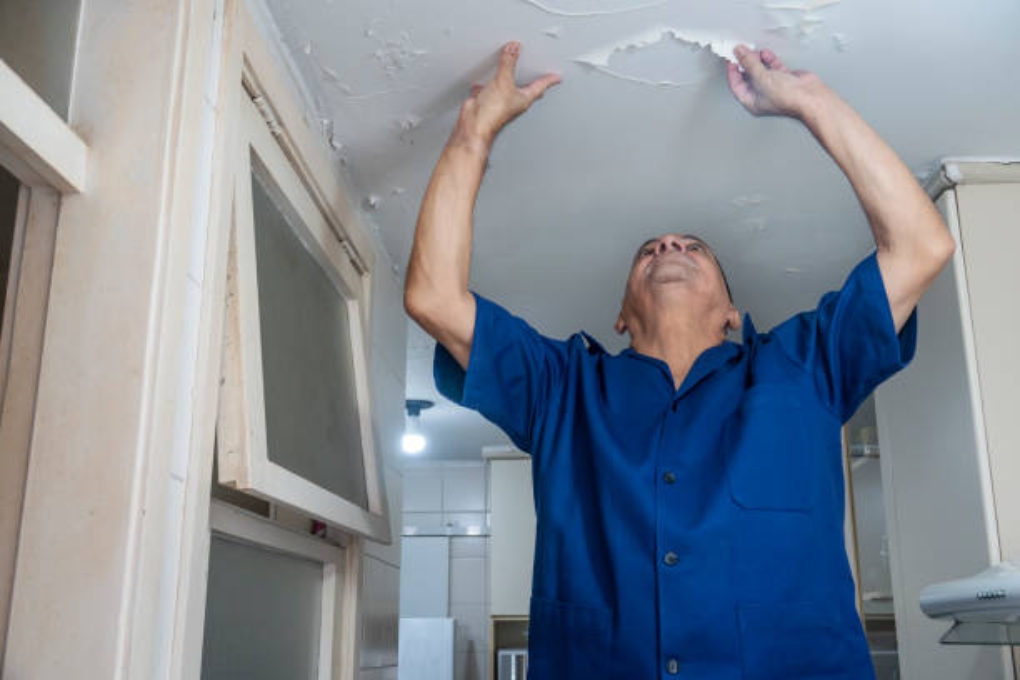
2. Plumbing Leaks
Leaking pipes or burst water lines within the ceiling can cause severe water damage. Since plumbing leaks often occur behind walls or in concealed spaces, they can go unnoticed until visible signs appear, such as bulging drywall, water stains, or active dripping from the ceiling. A slow but persistent leak can lead to mold growth and deterioration of ceiling materials. If you suspect a plumbing issue, checking the floors above for damp spots or warped flooring can help trace the problem to its source before it worsens.
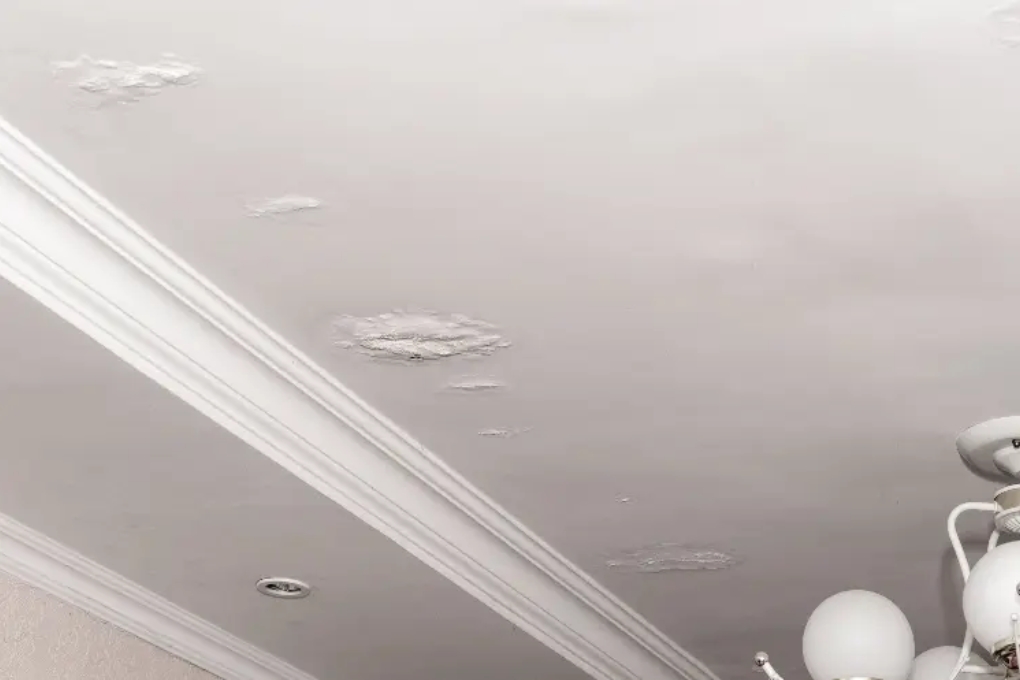
3. Condensation Issues
High humidity levels and poor ventilation can lead to condensation buildup, which, over time, causes water damage to ceilings. This is particularly common in areas with frequent steam exposure, such as bathrooms and kitchens. When warm, moist air meets cooler surfaces, condensation forms and collects, soaking into ceiling materials. Over time, this can lead to mold growth, peeling paint, or discoloration. Ensuring proper ventilation by installing exhaust fans and using dehumidifiers can help prevent condensation-related ceiling damage.
4. HVAC System Leaks
If not properly maintained, air conditioning units and ductwork leaks can contribute to ceiling water damage. Condensation from an overworked or malfunctioning HVAC system can accumulate and drip onto ceiling materials, causing moisture-related problems. Signs of HVAC leaks include water pooling near air vents, damp insulation, or staining around ductwork. Regular maintenance of air conditioning units, checking for clogged drain lines, and sealing any leaks in ductwork can help prevent long-term damage caused by HVAC system leaks.
That is step one- identify the cause of your water damage. Once you identify the source of the water damage, take immediate action to stop further leakage before proceeding with repairs. Without the source of the water intrusion being addressed, the issues will just continue.
DIY Ceiling Water Damage Repair Steps
For minor water damage, homeowners can take steps to repair their ceilings using basic tools and materials. Follow these steps for an effective DIY ceiling repair:
Step 1: Dry the Affected Area
Use fans, dehumidifiers, or heaters to completely dry out the damaged ceiling. If water is still dripping, use a bucket to collect excess moisture and prevent further spreading.
Step 2: Remove Damaged Materials
Cut away sagging drywall, remove peeling paint, and scrape off bubbling plaster. Use a utility knife, or keyhole saw to remove damaged sections without affecting the surrounding area.
Step 3: Apply a Stain-Blocking Primer
If water stains are present but the ceiling is still structurally sound, apply a stain-blocking primer to prevent discoloration from showing through the new paint.
Step 4: Patch and Sand the Area
For small holes or cracks, use a joint compound or plaster patch to fill in gaps. Allow it to dry before sanding it smooth to blend with the rest of the ceiling.
Step 5: Paint and Seal
Once repairs are complete, repaint the ceiling with moisture-resistant paint to prevent future damage. If necessary, apply a second coat for an even finish.
Professional assistance may be required for extensive damage or if the ceiling continues to show signs of water exposure.
When to Call a Professional for Ceiling Restoration
While minor water damage can often be repaired with DIY methods, certain situations require professional expertise. Here’s when you should seek professional help:
- Severe Structural Damage: If the ceiling is sagging, cracking, or at risk of collapse, a professional should assess the extent of the damage and provide proper reinforcement.
- Mold or Mildew Growth: If mold has developed, professional remediation is necessary to prevent health risks and ensure complete removal.
- Extensive Water Exposure: If the ceiling has been soaked for an extended period, underlying structures may have been compromised, requiring professional drying techniques.
- Unidentifiable Water Source: If you can’t determine where the water is coming from, professionals can use advanced moisture detection tools to locate the source and prevent future damage.
Professional assistance may be required for extensive damage or if the ceiling continues to show signs of water exposure. Signs like water stains, sagging, or peeling paint are red flags, Here are additional early signs of water damage that homeowners often overlook
Preventative Measures to Avoid Future Ceiling Damage
Taking proactive steps to protect your ceiling from future water damage can save time, money, and stress. Here are some essential preventative measures:
1. Regular Roof Maintenance
The roof is your home’s first line of defense against water intrusion, so regular maintenance is crucial. Conduct biannual inspections to check for damaged or missing shingles, clogged gutters, or cracks in the flashing around vents and chimneys. Heavy storms, snow accumulation, and falling debris can weaken the roof over time, allowing water to seep through into the ceiling. Keeping your gutters clean ensures that rainwater is directed away from your home, preventing water pooling and leaks.
2. Check Plumbing Systems
Leaky pipes, corroded water lines, and faulty plumbing fixtures are common causes of ceiling water damage. Regularly inspect exposed pipes under sinks, in the basement, and behind appliances to detect early signs of leakage. Dripping faucets and small leaks may seem insignificant, but they can contribute to mold growth and ceiling stains over time. Consider investing in high-quality, durable plumbing materials that resist wear and tear. If you experience frequent leaks, schedule a professional plumbing inspection to identify hidden issues before they escalate into significant water damage, requiring costly repairs and fixtures for leaks.
3. Improve Ventilation
Proper airflow within the home prevents moisture buildup that can lead to ceiling damage. Bathrooms, kitchens, and laundry rooms generate excess humidity, which can cause condensation to settle on ceilings and walls. To mitigate this risk, install exhaust fans in these high-moisture areas and ensure they vent outside rather than into the attic. Keep air conditioning filters clean and run dehumidifiers in damp spaces like basements. Additionally, leaving interior doors open and using ceiling fans can promote better air circulation, reducing the risk of trapped moisture that could lead to mold and ceiling damage.
4. Install a Leak Detection System
Early leak detection can save homeowners thousands of dollars in water damage repairs. Installing smart water leak detectors near plumbing fixtures, water heaters, and attics can alert you to leaks before they cause significant damage. These devices send notifications to your phone when they detect moisture, allowing immediate action. Some advanced systems can even shut off the water supply automatically in case of a significant leak.
5. Use Mold-Resistant Paints and Materials
Mold thrives in damp environments, making ceilings a prime target after water exposure. To add an extra layer of protection, apply mold-resistant primers and moisture-resistant paints on ceilings, especially in bathrooms, kitchens, and basements. For homes in high-humidity areas, consider using mold-resistant drywall containing special additives that prevent fungal growth. These materials provide a long-term defense against water damage and mold infestations.
By implementing these measures, homeowners can significantly reduce the risk of future ceiling water damage.
Conclusion
Ceiling water damage can range from minor stains to severe structural issues, making prompt action essential. Identifying the source of the problem and using quick repair techniques can help mitigate damage and restore your ceiling’s appearance. While small water-damaged areas can often be repaired with DIY methods, more extensive damage requires professional assessment and restoration to ensure long-term safety and durability.
Preventative measures, such as maintaining your roof, checking for leaks, and improving home ventilation, can reduce the risk of future ceiling damage. If you are dealing with severe water damage, seeking professional water restoration services ensures your ceiling is properly repaired, safeguarding your home from further complications.
Ceiling Water Damage FAQs