Water can be very harmful as it can cause severe problems in your house. It can harm both the inside and outside of your home. One common issue from water damage is messed-up drywall. It can be as small as a stain or as big as needing a whole new piece of drywall.
Whether your home has a pipe break or a leaking roof, you might deal with damaged drywall someday. If you see any signs of water damage on your walls or ceilings, you should do a few things before calling an expert for help.
First, find where the water came from and stop it right away. Then, you might wonder, “Can I fix water-damaged drywall?” The good news is yes, you can! But it’s best to hire a professional water damage expert because they have the right skills and tools to do a good job.
How to Tell if Drywall is Water Damaged?
Several signs and symptoms can indicate water damage to drywall:
Discoloration: Water-damaged drywall often appears discolored, with stains or yellowish/brownish patches on the surface.
Swelling or Bubbling: When drywall absorbs water, it may swell or bubble, causing the surface to become uneven or distorted.
Sagging: Saturated drywall can lose its structural integrity and sag, especially on ceilings.
Soft or Crumbly Texture: Water-damaged drywall may feel soft or crumbly to the touch, indicating a loss of strength.
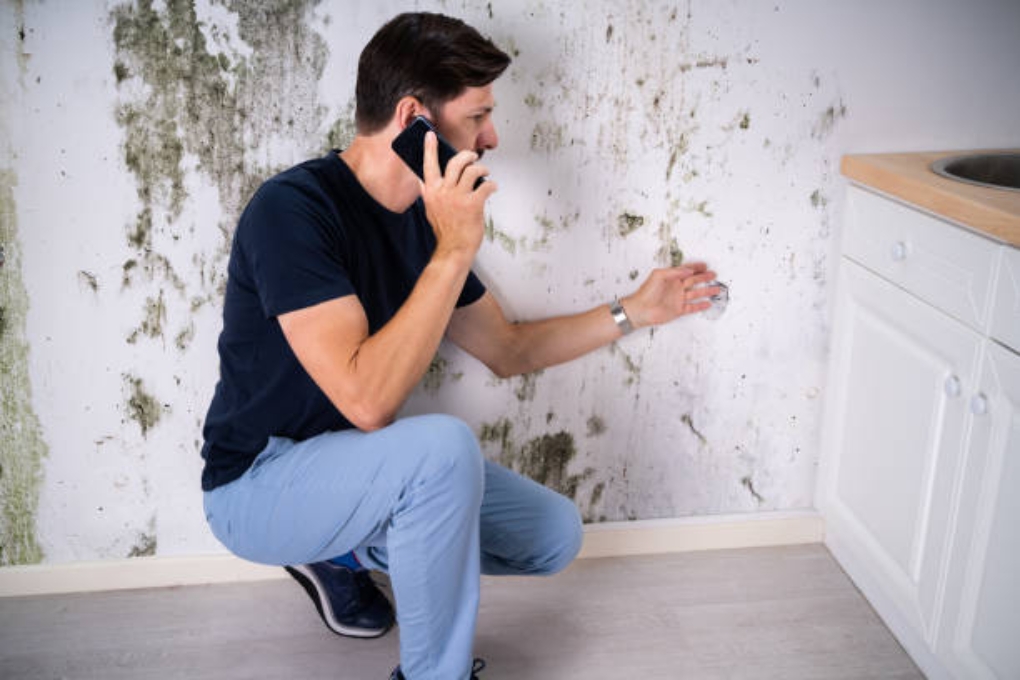
Mold or Mildew: Moist conditions can promote mold and mildew growth on the drywall surface, often appearing as dark spots or fuzzy patches.
Musty Odor: A persistent musty or damp odor in a room can suggest hidden water damage within the drywall.
Peeling or Bubbling Paint: Water infiltration can cause paint or wallpaper on the drywall to peel, bubble, or blister.
Visible Water Streaks: You may see streaks of water running down walls or seeping through seams in the drywall.
How to Repair Water Damaged Drywall?
Repairing water-damaged drywall is a manageable if you follow the right steps. Here’s a step-by-step process to help you restore your drywall to its original condition.
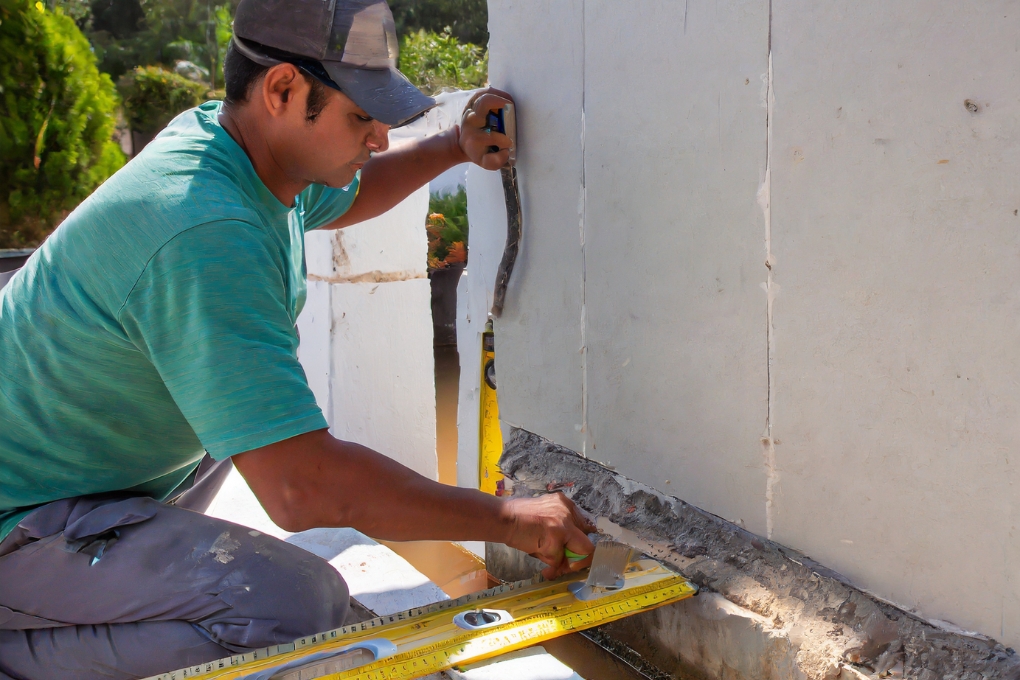
Locating and Addressing Water Leaks for Drywall Water Damage Repair
Sometimes, it’s evident that you have a water leak either behind your walls or from above, causing visible signs of moisture, dripping water, or structural problems like sagging ceiling drywall. You might also notice coffee-colored stains that gradually grow.
Before jumping into repairs, the priority is pinpointing the source of the water leak. This task can be frustrating, but fixing the source is essential; otherwise, repairs are futile. Whether it’s a leaky roof, a broken pipe, or a toilet leak, finding the source can be challenging, as water can travel unexpectedly and cause damage elsewhere. This necessitates some exploration and investigation, including removing damaged drywall to identify the leak’s origin and dry the affected area.
Evaluating the Extent of Damage
Assessing the extent of water damage in drywall is a crucial step in determining the necessary repairs. To start, conduct a visual inspection of the affected drywall. Look for visible signs like stains, molds, discoloration, or swelling. Changes in color, texture, or noticeable alterations in appearance are important indicators. Pay attention to ceilings, which may sag or deform when extensively damaged.
In addition to a visual inspection, gently probe the damaged areas with your fingertips. If the drywall feels soft, spongy, or crumbly to the touch, this suggests significant water damage.
For a more thorough assessment, you can use a screwdriver or utility knife to carefully probe the damaged area. If the tool easily penetrates the drywall or you observe that the drywall’s core is disintegrating, this signifies severe water damage that may require replacement.
Gathering Essential Tools and Materials
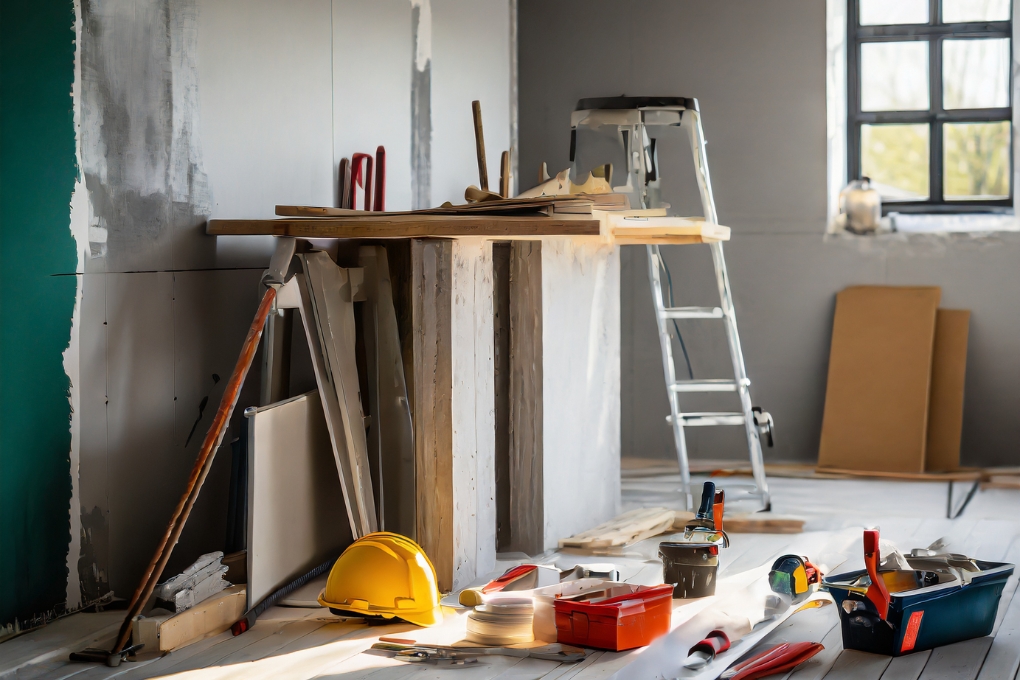
To ensure a successful drywall repair project, it’s essential to gather the right tools and supplies beforehand. Here’s a breakdown of what you’ll need:
Firstly, a putty knife is crucial for scraping away any damaged or softened drywall resulting from water damage. Additionally, a utility knife comes in handy for cutting out sections of drywall that can’t be salvaged. For safety when dealing with potential mold or dust, it’s advisable to have protective gear, including gloves and face masks.
When you’ve prepared the tools, focus on acquiring replacement materials such as fresh drywall sheets and joint compound. These are essential for covering patched holes and cracks. Depending on the specific location of the water damage, consider purchasing insulation material to ensure effective repairs. Lastly, keep sandpaper available to smooth surfaces once the repairs are complete.
With these necessary tools and supplies at your disposal, you can proceed with confidence, measuring and marking precisely where repairs are needed on the damaged drywall.
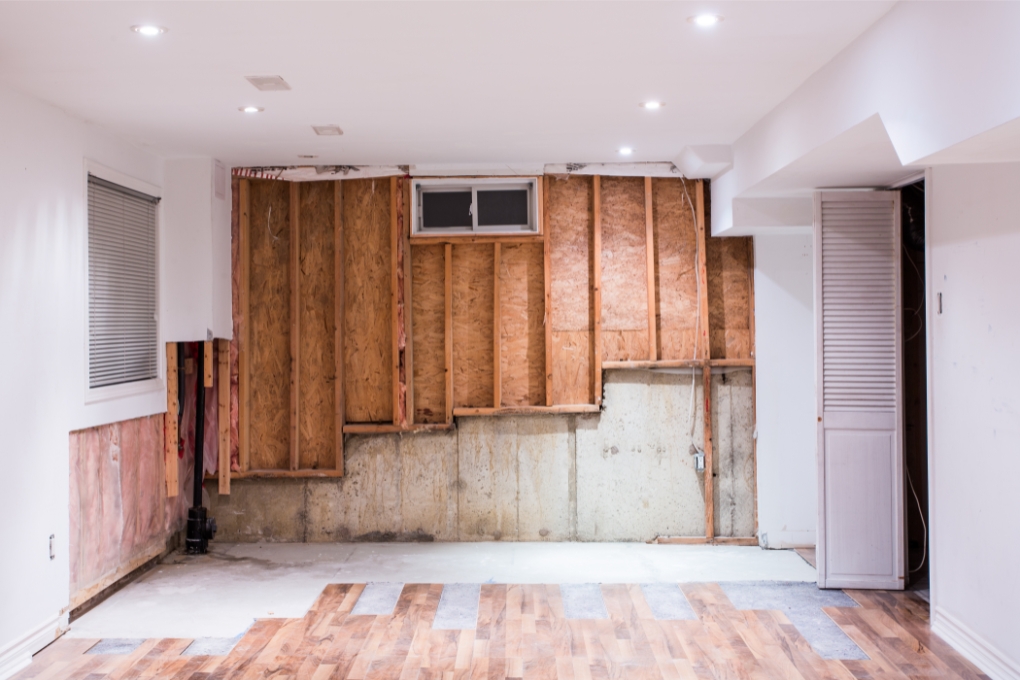
Removing Water-Damaged Drywall

Removing water-damaged drywall is a critical phase in the repair process, setting the foundation for effective restoration. Ensuring safety during this procedure is paramount. Wear appropriate protective gear, including gloves, safety goggles, and a dust mask, to safeguard against potential health risks and dust inhalation that can occur during the removal process.
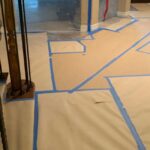
To prepare for the task, place drop cloths or tarps underneath the area where you’ll be working. This serves the dual purpose of catching any drywall fragments, dust, or debris and simplifying the cleanup afterward.
Before proceeding, conduct a thorough assessment of the damaged drywall to ascertain the extent of the harm. Water-damaged drywall may present signs such as staining, swelling, or softness, which will guide your removal strategy.
Depending on the severity of the damage, you’ll either cut out the affected sections using a utility knife or saw or opt to remove entire sheets of drywall. Exercise caution during this step to avoid damaging the underlying structure or electrical wiring.
Once the removal is complete, it’s crucial to address the cleanup. Dispose of the removed drywall pieces, dust, and debris following local regulations. Vacuum the area precisely to eliminate any remaining particles, preparing it for the subsequent phases of the repair process.
Measuring and Marking for Repairs
Before initiating any repair work, it’s paramount to conduct precise measurements and markings to determine the areas of water-damaged drywall that require replacement. The process unfolds in a systematic manner, beginning with a careful inspection for mold. Thoroughly inspect the area to detect any signs of mold spores that might have developed due to the water damage. It’s important to exercise extra caution when dealing with mold during the repair process, as it can propagate rapidly if not managed properly.
Once the mold inspection is complete, the focus shifts to measuring for replacement. Employ a ruler or tape measure to ascertain the necessary dimensions for the replacement piece of drywall. Use a pencil to mark these measurements on both sides of the wall. This approach ensures the creation of precise guides for making cuts once the old sections are removed. It’s essential to note both length and width measurements to guarantee a seamless fit for the new drywall piece.
Before progressing to the actual repair work, it’s wise to engage in a final review of all measurements. Double-check for accuracy and alignment to anticipate any potential issues during the replacement process. Once you have confirmed the correctness of your measurements and the alignment, you can confidently proceed to replace the damaged sections of drywall, effectively restoring it to its original condition.
Replacing Water-Damaged Drywall Sections
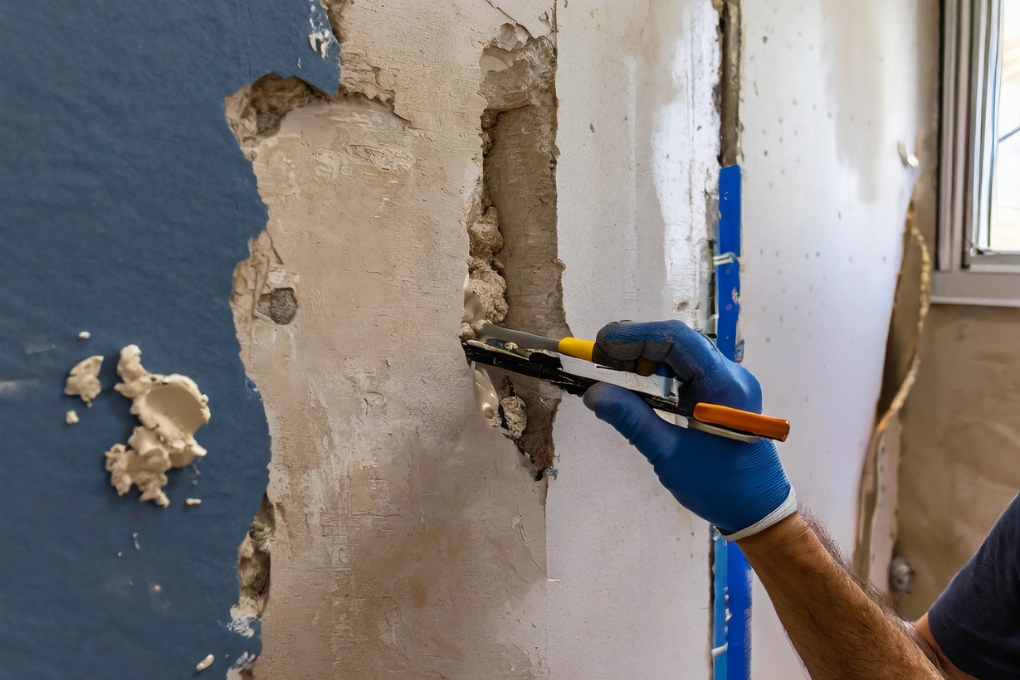
When it comes to replacing water-damaged drywall sections, precision is key. After carefully measuring and marking the damaged areas to ensure an accurate fit for the replacement drywall pieces. After removing the damaged sections, securely attach the new drywall using drywall screws. Finish the repair by applying joint compound along the seams and edges, followed by sanding for a smooth finish. This careful approach guarantees a seamless replacement, restoring the drywall to its original condition.
Priming and Painting Over Water Stains
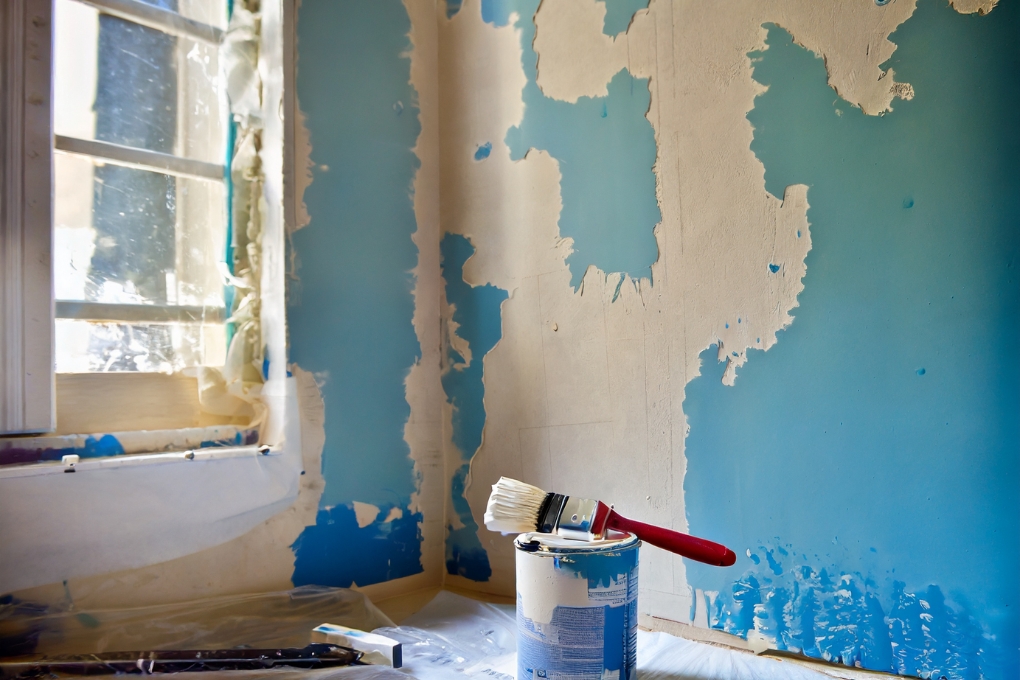
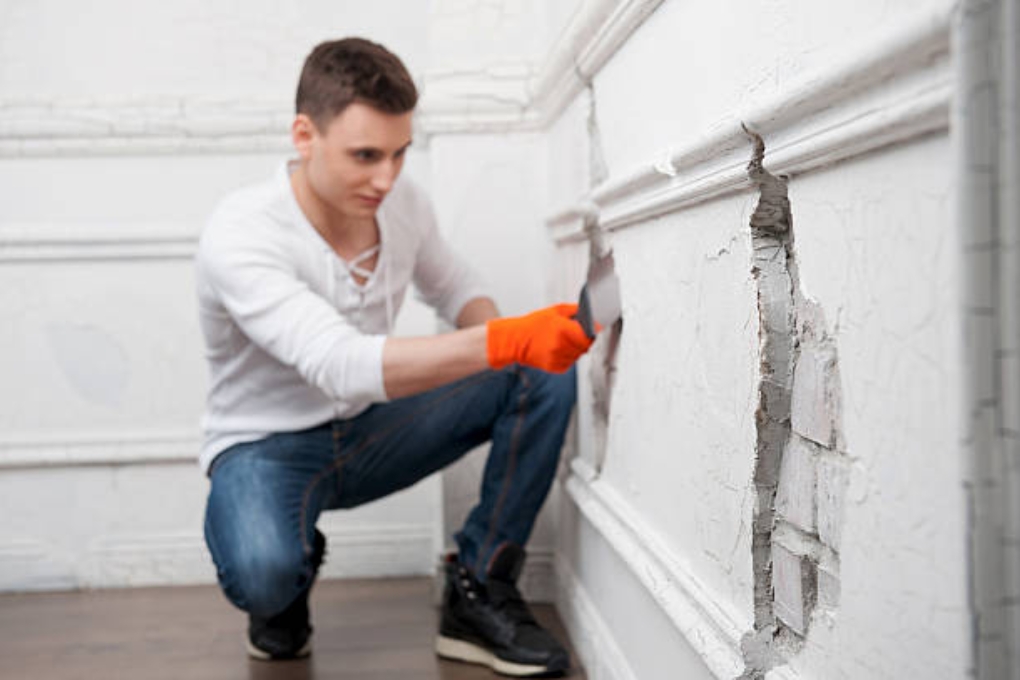
Can you paint over water damaged drywall? Yes, definitely, you can; To effectively cover water stains on drywall, the process begins with careful preparation. Start by using a paint scraper to remove any loose or peeling paint in the affected area. Next, sand the wall with medium-grit sandpaper, gradually progressing to finer grits until the surface is smooth. Once the surface is prepped and free of imperfections, you can proceed to prime and paint it. Properly priming the surface not only seals the stain but also ensures that the paint adheres evenly. Finally, apply the desired paint color to achieve a refreshed look, effectively concealing the water stains.
Clean-Up After Painting
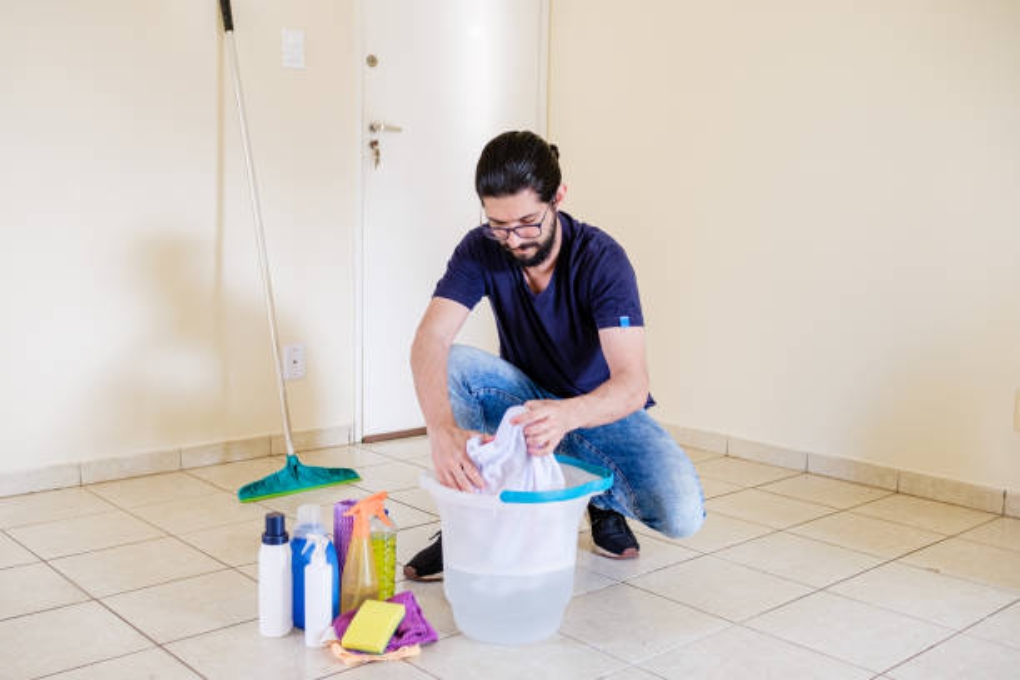
After completing your painting project, it’s vital to follow a proper cleanup process. The first step involves vacuuming the area to remove dust and debris resulting from the painting process.
Next, it’s essential to pick up your drop cloths or tarps carefully and ensure that paint cans are sealed tightly. Properly disposing of used paint cans in accordance with local regulations is important.
Cleaning your brushes and tools is an easy task using warm, soapy water. Rinse your roller covers and brushes thoroughly until the water runs clear. If you have access to a brush/roller spinner, this can be used to remove excess liquid. Store your cleaned tools in their protective sleeves or hang them on nails or hooks for safekeeping.
Lastly, removing painter’s tape is a key step in the cleanup process. Do this by peeling off the tape at a 45-degree angle to prevent any damage to freshly painted surfaces. Keep in mind that the longer the tape remains in place, the more challenging it can be to remove.
When to Call an Expert
Recognizing the appropriate time to engage experts for repairing damaged drywall is crucial in ensuring a successful and lasting solution. While minor drywall issues can often be tackled as DIY projects, there are instances when the involvement of professionals is not only recommended but essential.
One significant indicator for calling in experts is when the drywall damage is extensive. This may include scenarios where large sections of drywall require replacement due to severe water damage, structural issues, or other significant factors. Professionals like SS Water Restoration are well-equipped to handle such extensive repairs efficiently and effectively.
Additionally, if the damaged drywall is a result of water damage or mold growth, seeking expert assistance is highly advisable. Water damage can lead to hidden moisture problems within the drywall, potentially causing structural issues and mold development. Professionals at SS water restoration possess the tools and expertise to detect and address these hidden issues comprehensively.
SS Water Restoration stands out as an excellent choice for handling damaged drywall repairs as our expertise in water damage restoration and mold remediation positions us as top professionals in the field. Whether your drywall damage is extensive, related to water issues, or involves mold concerns, our skilled team can provide the necessary solutions to restore your drywall to its optimal condition. With our assistance, you can trust that your property will be in capable hands, ensuring a durable and well-executed repair.
Drywall Water Damage FAQs
Can water damaged drywall be saved?
Water-damaged drywall can often be saved if the damage is not extensive and has not led to structural issues or mold growth. Promptly addressing the source of the water, drying the affected area thoroughly, and making necessary repairs can often salvage water-damaged drywall.
What is drywall damage?
Drywall damage refers to any harm or deterioration that affects the integrity or appearance of drywall, a common building material used for interior walls and ceilings. This damage can result from various sources, including water leaks, impact, settling of the building, or general wear and tear, and it may manifest as cracks, holes, stains, or structural issues in the drywall surface. Repairing or replacing damaged drywall is often necessary to maintain the aesthetic and structural integrity of a building.
Conclusion
Water-damaged drywall repair might seem challenging, but it doesn’t have to be if you have the right materials and know-how. By considering the damage extent, assembling the required tools, measuring and marking for repairs, replacing damaged sections, and completing the finishing touches, you can tackle this project independently. However, if you find the process overwhelming or have concerns about safety, don’t hesitate to seek professional help from SS Water Restoration as experts can efficiently manage the entire repair process, providing peace of mind from start to finish.